Setting Up The Ingredients
📝 We continue in the Speedy Chef project folder throughout this section.
The pizza ingredients
Near the top of the script, we have an array with some ingredients to make our pizzas:
const ingredients = [
  'ROLL DOUGH',
  'PIZZA SAUCE',
  'CHEESE',
  'PEPPERONI',
  'HAM',
  'PINEAPPLE',
  'ONIONS',
  'PEPPERS',
  'MUSHROOMS',
  'GARLIC',
  'CHICKEN',
];
These strings all match the ingredients in the requiredSteps property in the pizzas array.
If you have changed any of these pizzas to use different ingredients, make sure the ingredients array is updated too, this will be important soon. We will loop through these ingredients and display them as buttons in the kitchen area:
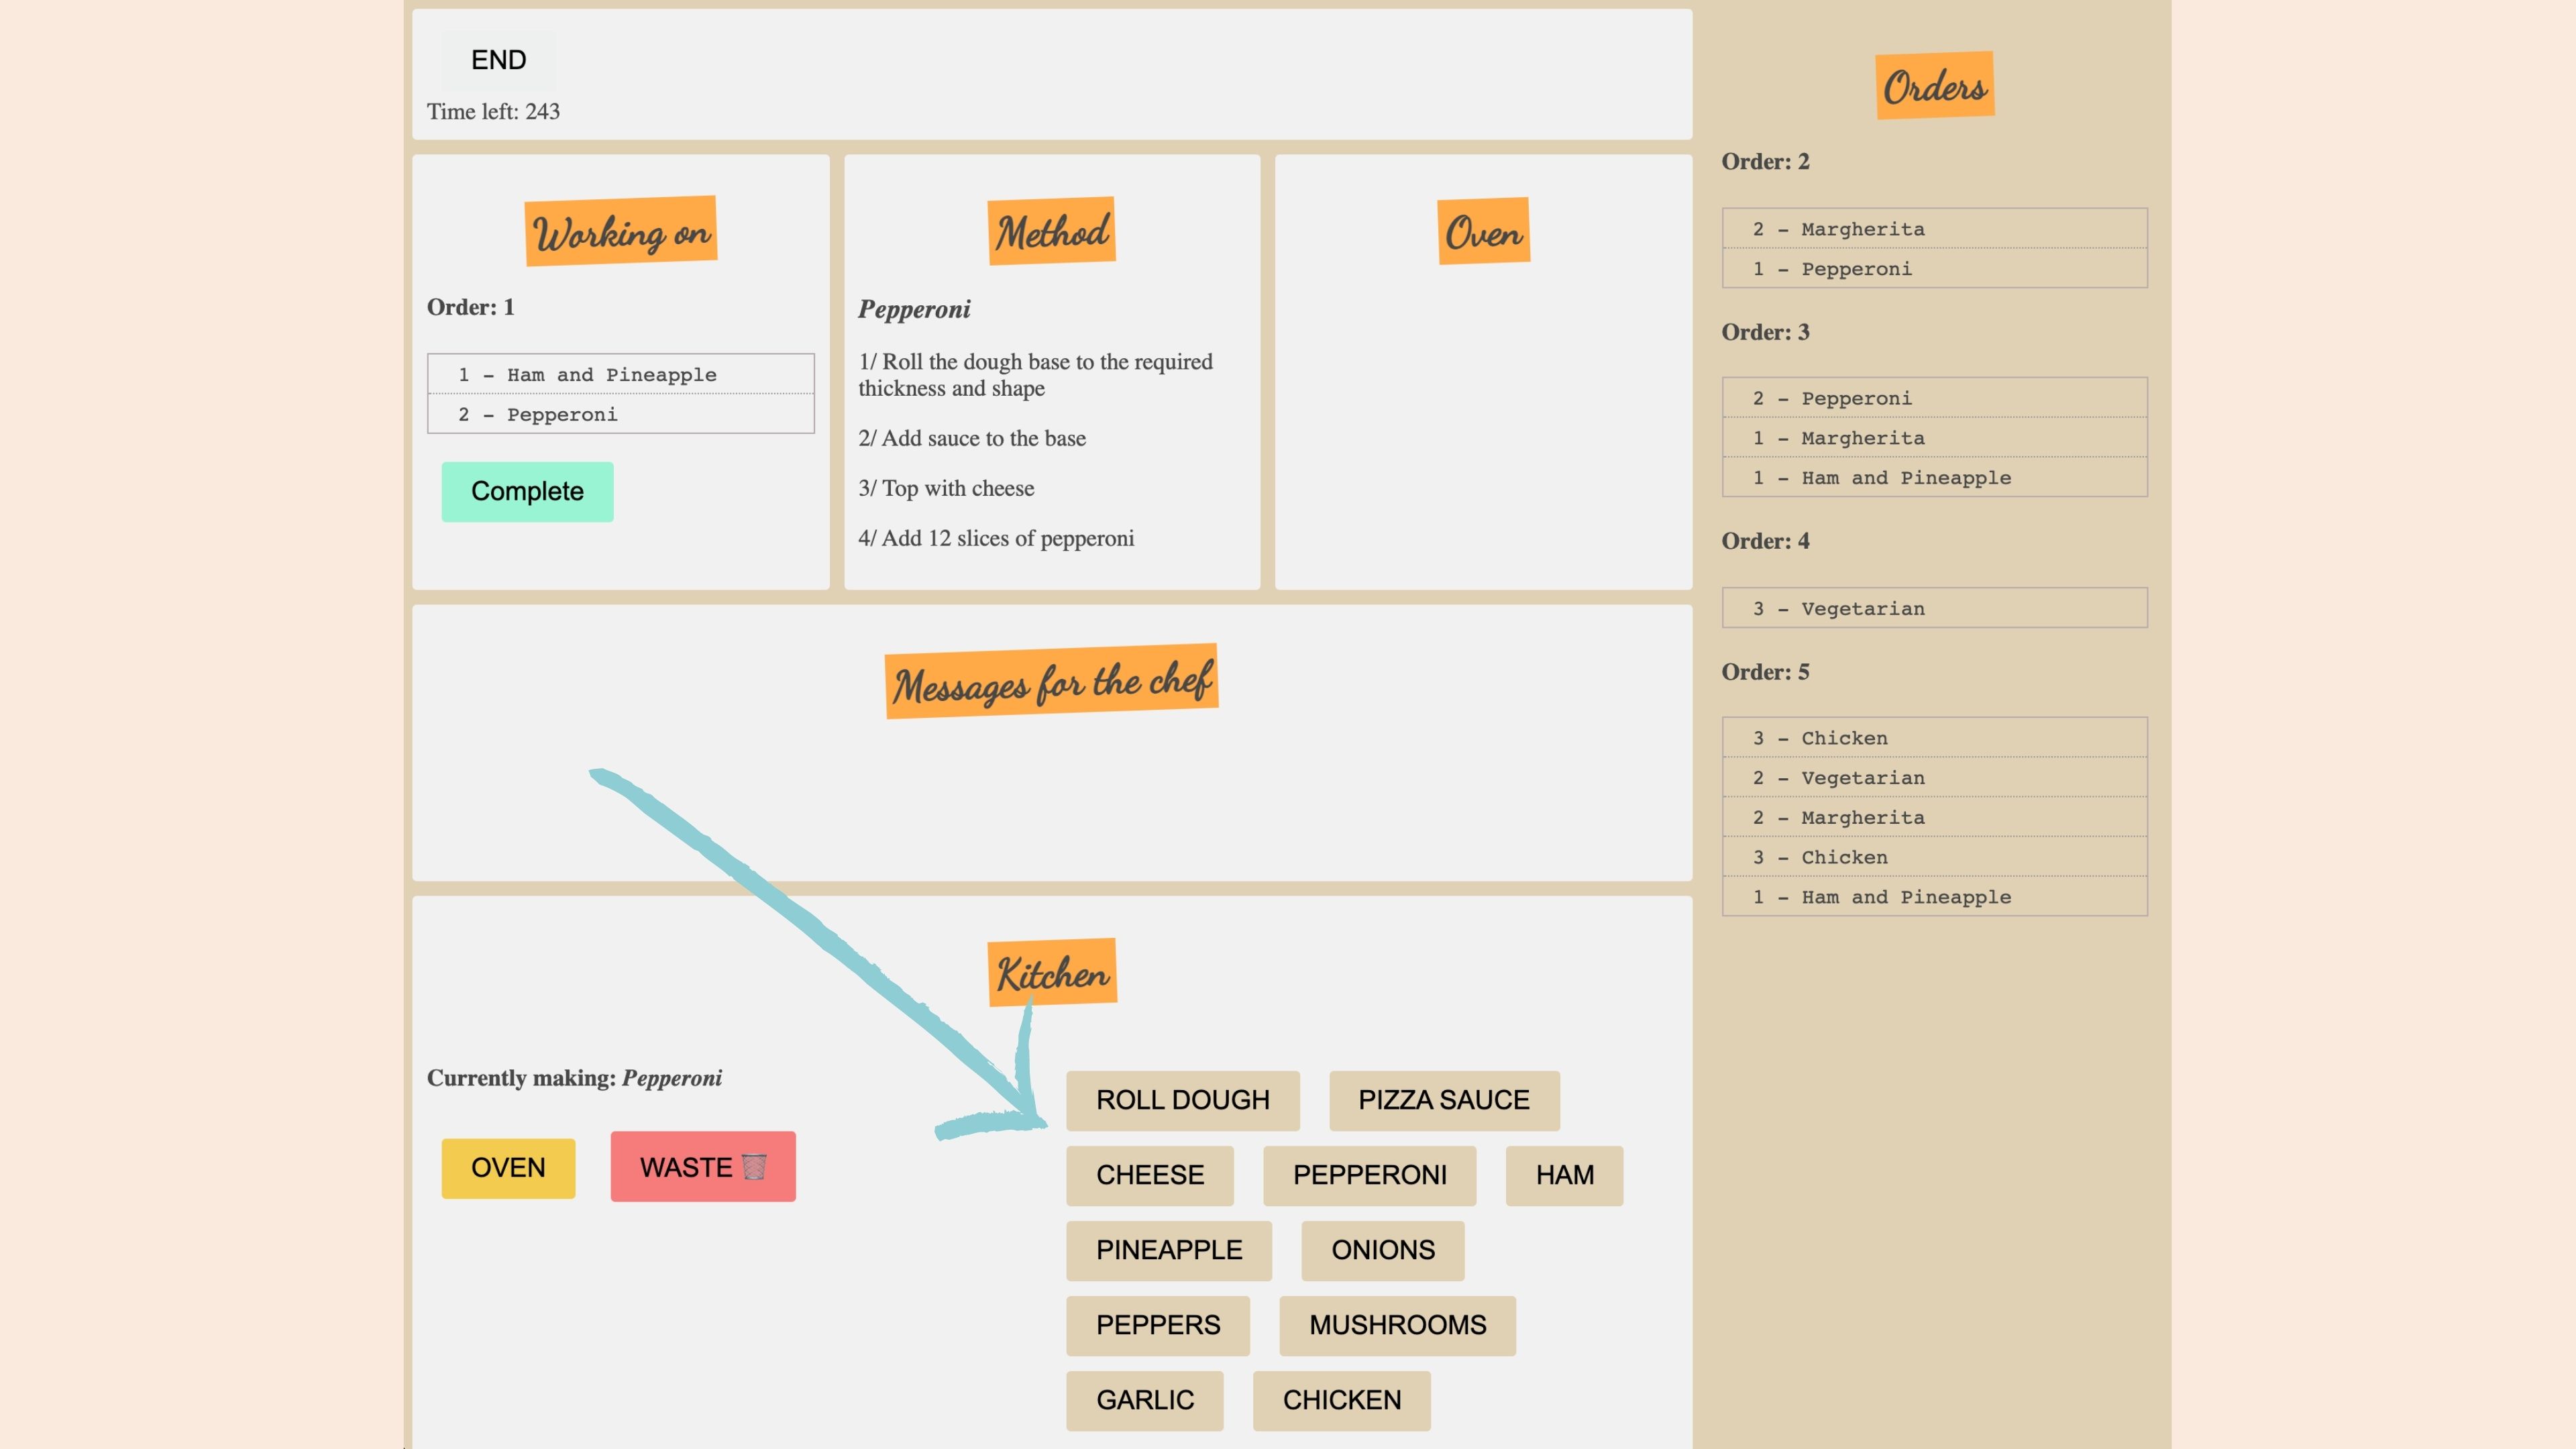
Once a pizza has been selected, the chef can then follow the method and make the pizza using these buttons. Making use of the canvas, each button will draw the ingredients onto the pizza.
We don’t need any of the canvas examples from previously, so we can delete the examples from the previous lesson, except the canvas and content reference:
const canvas = document.querySelector('#pizza_area');
const ctx = canvas.getContext('2d');
Looping over the ingredients
Below this, create a function to loop over the ingredients:
function listIngredients() {
  ingredients.forEach(function (ingredient) {
    const ingredientElement = buildElement('button', ingredient);
    // link to .ingredient class in css file
    ingredientElement.className = 'ingredient';
    // add to dom
    document.querySelector('#ingredients').appendChild(ingredientElement);
  });
}
We could call this immediately, but it makes sense to call it from the startOfGame function:
function startOfGame() {
  // ...
  listIngredients();
}
Start the game and the ingredients will appear in the kitchen area.
Tracking the completed steps
Create the following two functions at the bottom of index.js:
// 1. Create a function to keep track of the steps we have taken:
function stepCompleted() {}

// 2. Create a function to draw the ingredient to the canvas:
function makePizza() {}
We will call stepCompleted when an ingredient is clicked on:
function listIngredients() {
  ingredients.forEach(function (ingredient) {
    const ingredientElement = buildElement('button', ingredient);
    ingredientElement.className = 'ingredient';
    // listen for click on each ingredient
    ingredientElement.addEventListener('click', stepCompleted);
    document.querySelector('#ingredients').appendChild(ingredientElement);
  });
}
Since this is a click event, stepCompleted will also take in the event information:
function stepCompleted(e) {}
The stepCompleted function is now going to be used to disable the ingredient button once clicked and keep track of the steps we have taken. To keep track of these steps, add a new variable with the other variables near the top of the script:
let completedSteps = [];
Update the stepCompleted function as follows:
function stepCompleted(e) {
  // 1. set disabled attribute once the ingredient has been used
  // to stop ingredients being duplicated
  e.target.setAttribute('disabled', true);

  // 2. store the innerText to get the ingredient name:
  const stepName = e.target.innerText;

  // 3. push step to new array we just created
  completedSteps.push(stepName);

  // 4. call our makePizza function to draw the new
  // ingredient to the canvas:
  makePizza(stepName);
}
Testing
To test this is working, add a console log to the makePizza function, showing the completed steps, and pass in the ingredient to the function:
function makePizza(ingredient) {
  console.log(completedSteps);
}
Start the game in the browser, select an order, and click on a pizza to pass to the kitchen. You will now see an array in the console when we click on the ingredients, along with disabled buttons too.
This now leaves us ready to draw the ingredient to the canvas. For example, if the makePizza function receives pizza sauce, we will draw sauce on the pizza. And this is what we will cover next.